Mazda MX5 Donor Parts
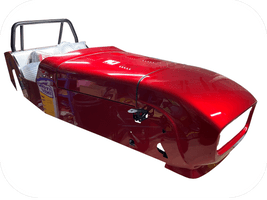
The GBS Zero kit i elected to build is the SDV (Single Donor Vehicle) version which means that the bulk of the larger mechanical items for the build can come from a single vehicle, in this case a Mk1 or Mk2 Mazda MX5.
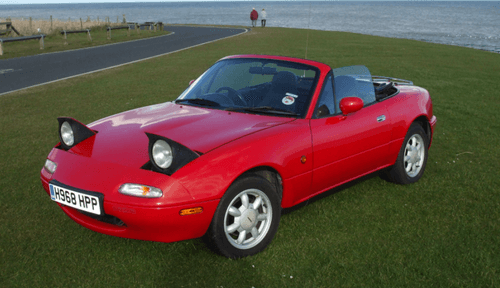
The MX5 was first launched in 1989 and has been one of the best selling, two seater sports cars in history. Renowned for an engaging, fun drive and bullet proof mechanics, the MX5 is pretty much the perfect donor car for any small Kit Car project.
The GBS Zero does not use as much of the MX5 as some of the other kits I looked at but the parts it does use includes:
- Engine
- Gearbox
- Differential
- Front & Rear Hubs
- Brake Callipers (front and rear)
- Steering Column & Shaft
- Brake & Clutch Master Cylinders
- Propshafts & Driveshafts
After ordering my kit, the first job was to locate a donor car or donor parts and start to clean them up and refurb them ready for fitting to the Zero.
My Donor
One thing I know from previous builds is that I do not enjoy dismantling old cars. Nothing ever comes apart easily and everything is rusty, covered in crud or both!
So i decided very early on that if there was an opportunity to get donor parts without needed to dismantle a full car (and dispose of the body shell) then I would seize it!
I did not have to wait long as I soon spotted a post on the MEV Exocet FB group from a guy who had stripped his mum's car with a view of building an Exocet but now his circumstances meant it was not on the cards and he wanted to empty his garage.
A couple of phone calls and a bunch of pictures later, I was the proud owner of a 1.8Lt MK1 MX5 (1994) with the only problem being it was in bits, and in Wales.
Luckily, a colleague from work was in Wales a few weeks later and had a work van that would be empty for the return journey so for the cost of a bottle of Whiskey, I was able to get all the donor parts back to my garage!
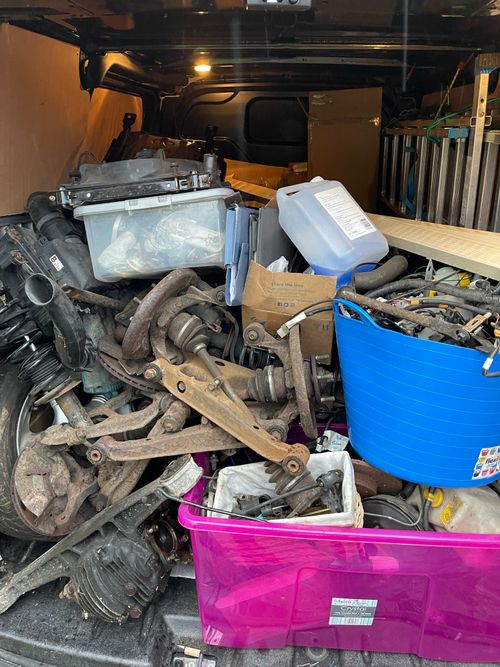
Now when I say all the parts, I mean all the parts for the car, everything except the body shell! Most of it will not need but I guess it is good to have it just in case!
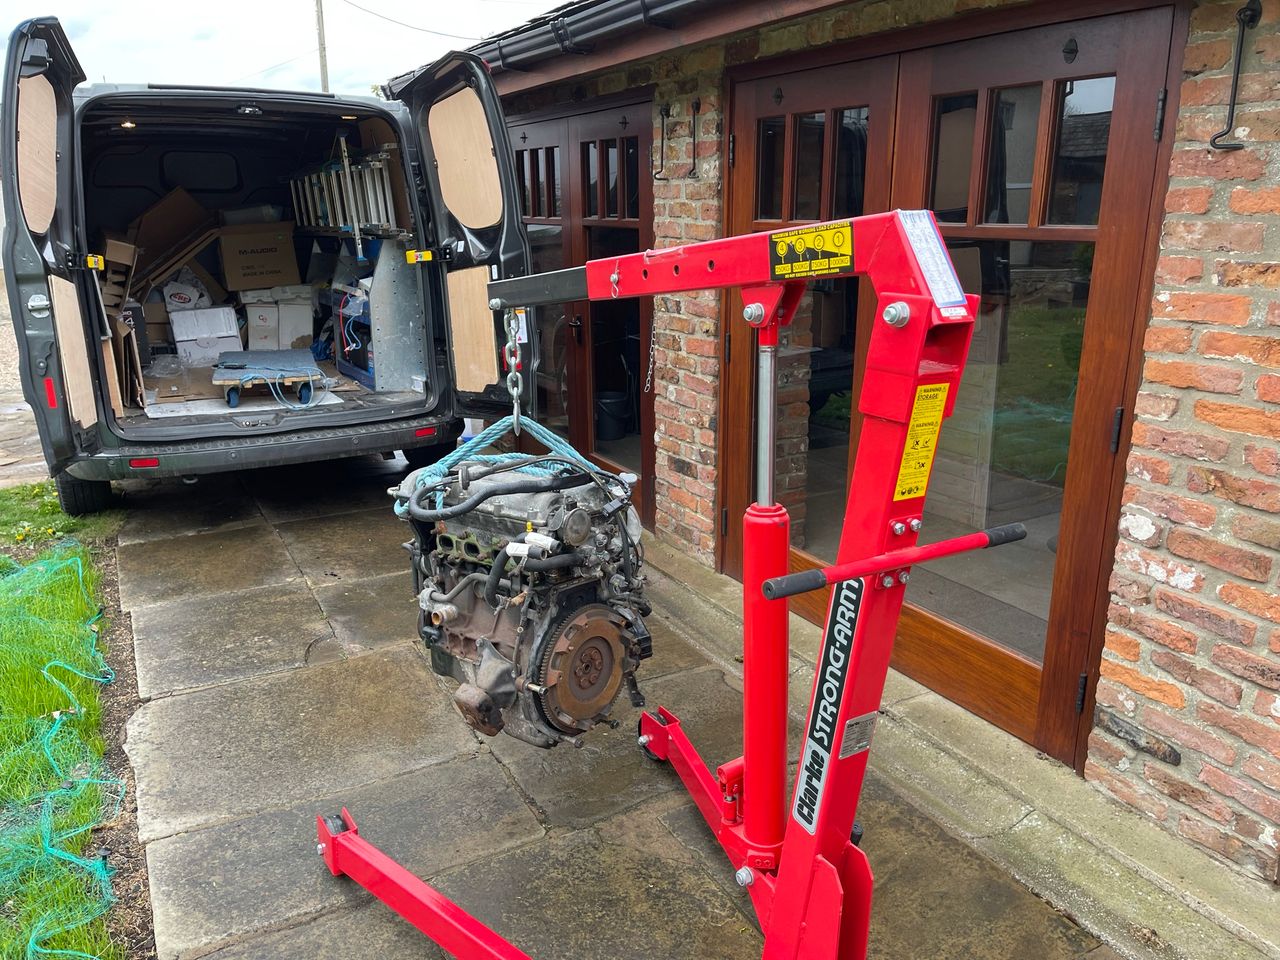
The donor car is a over 25 years old so as you can imagine, some of the parts are definitely in need of some restoration before fitting to the Zero. There are plenty of great resources and other blogs that cover restoring MX5 parts so I will just include a very brief overview of what I did to the components I plan to use on my build.
Engine
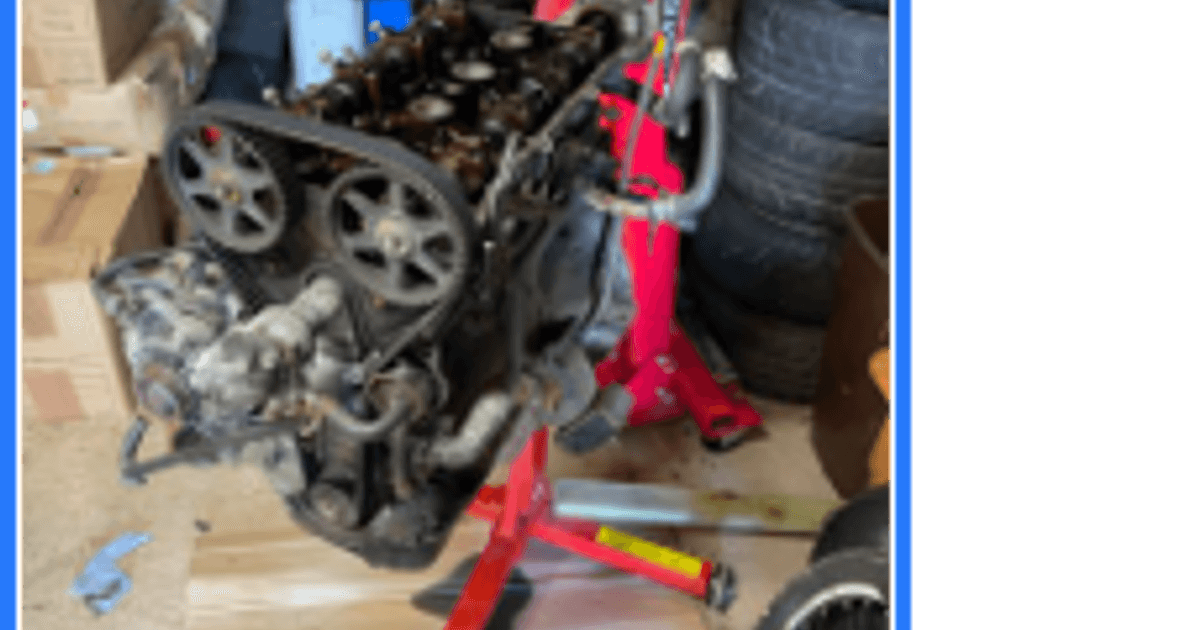
The engine from my donor car is a normally aspirated 1.8lt unit. Later models had Variable Valve Timing plus the addition of extra equipment to drive power steering and AC, but this base variant is about as basic as a modern engine comes.
They also have a reputation for being bomb proof so fingers crossed, the engine will be in good shape with only some basic maintenance. I have to hope that as I have never seen it running!
Here is the list of things I decided to do to the engine prior to fitting to the Zero.
- Change timing belt.
- Change oil seal on crankshaft & camshafts.
- Replace camshaft cover seal.
- Replace water pump.
- Replace oil filter & seal.
- Replace spark plugs.
- Oil change.
- Clean and paint engine block and camshaft cover.
Due to a little issue with the thermostat housing (that I broke off), I also replaced the thermostat and housing whilst doing the timing belt.
I ordered most of the parts for this process from MX5 Parts including this timing belt kit which was worth every penny. Camshaft Timing Belt Kit, 7 Piece, MX5 Mk1 2 2.5 1.8 (mx5parts.co.uk)
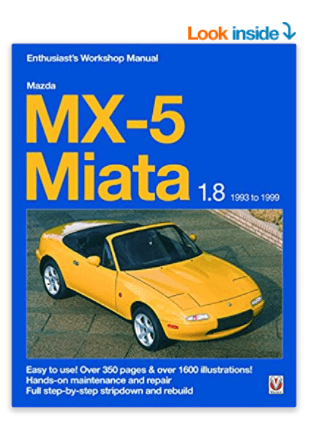
I also found this book to be very useful for walking through the various procedures.
The main focus was the changing of the timing belt and the water pump. A good garage will do this in a couple of hours even with the engine in the car, with the engine on a stand, it should be even easier but it still took me a couple of days to work through the whole thing!
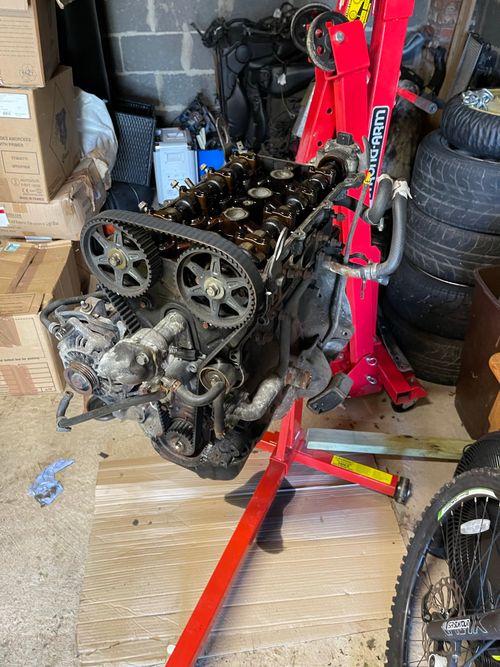
The thing I struggled with the most was fixing the camshafts in place to retain the timing whilst removing the timing belt and crankshaft pullies (which was needed to replace the oil seals and thermostat housing). In the end I used a two adjustable spanners on the crank shafts with the handles crossed and a big set of mole grips to hold them exactly in place. Worked well once I found the right technique.
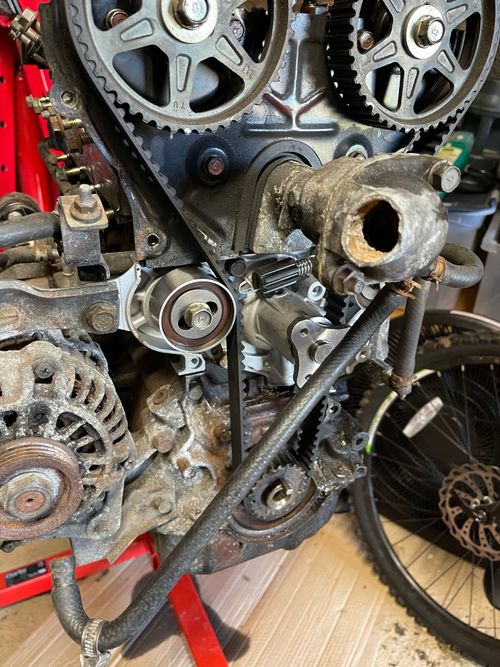
As you can see in the picture above, the thermostat housing was badly corroded and broke off as I was changing the timing belt so the whole process had to be paused while a new unit was ordered from MX5 Parts.
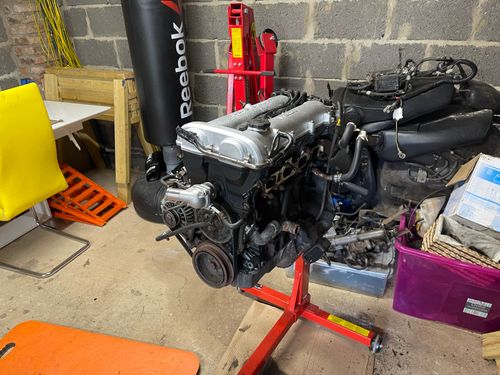
Eventually the job was done was completed. I also cleaned up and painted the crankshaft covers and the block as best I could. The block has not been painted yet but I do plan to do so before the engine is fitted.
The engine can be turned by hand easily and you can hear/feel then compression so hopefully the engine will be ok, but I will not know for sure until it is fitted and tested!
Gearbox
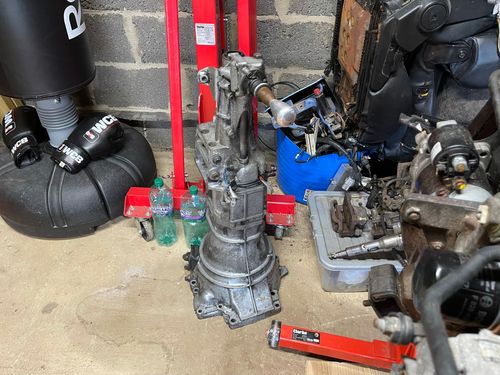
The gearbox from the donor car was pretty dirty but changing gears feels like swiss clockwork so I am confident that the gearbox is in good shape.
So all I did with the gearbox was clean it up as best I could. I am also considering painting it but it will not be visible at all so I question whether it is worth it. It appears to be all alloy so there is no corrosion to worry about.
Differential
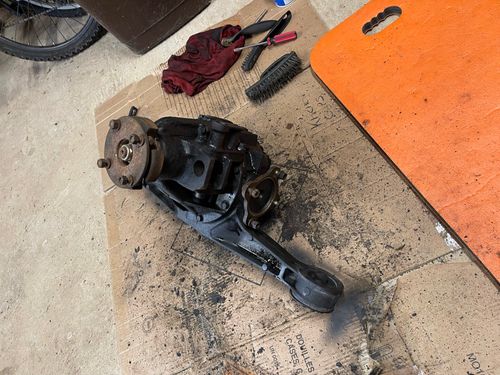
At first glance, the differential appeared to be in rough shape with years of dirt and rust built up over the casing. Turning it by hand didn't indicate there was any internal issues so I am hopeful the outside was just evidence of 25+ years of use on the road.
After a fair bit of effort with a degreaser and wire brush, I was able to clean all the dirt off and remove the surface rust, I then painted it with hammerite paint and it looked a lot more presentable!
Front & Rear Hubs
The front hubs need a slight modification which GBS will do for you. So the first job was to remove the front hubs from the wheel assembly on the MX5 (along with the front brake callipers).
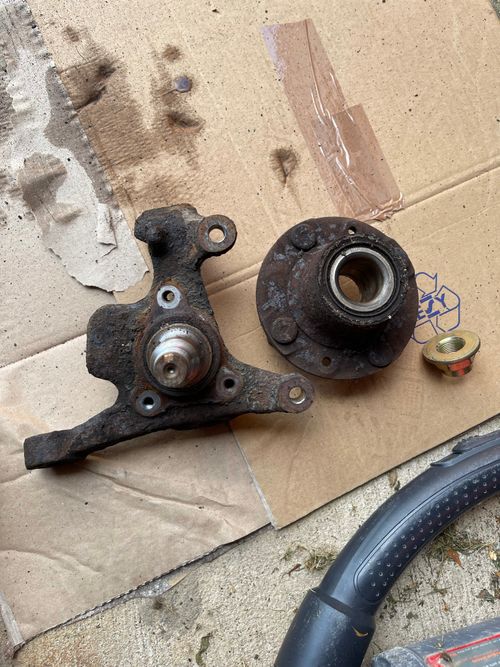
I ordered new bearing from MX5 Parts so it is only the actual hubs that will be retained from the donor. Prior to dropping them off at GBS, I went over them with a wire brush wheel and gave them a quick coat of hammerite, mainly to make them nicer to handle. The modification that GBS does is just to drill out the tops to accept a different ball joint so you could probably do that yourself if you wanted, but they offered so I accepted!
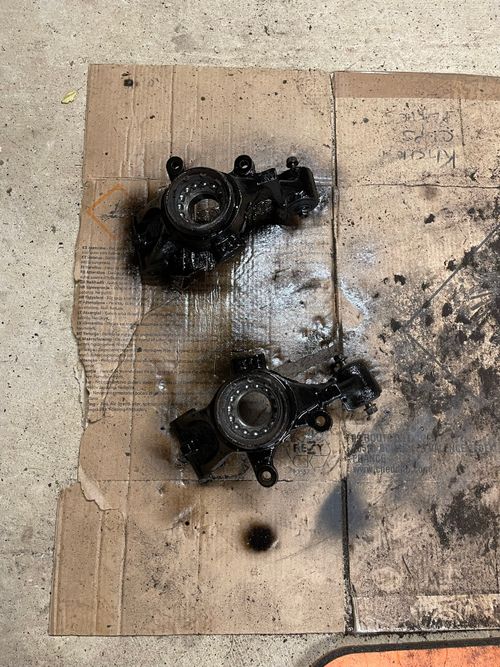
The rear hubs proved (and continue) to be more of a challenge. Firstly, I had a devil of a time trying to separate them from the original donor wishbone assembly. This may be easier when they are fitted to a car but it was very difficult to get all the nuts undone and the disassembled. In the end I had to revert to using a small blowtorch to heat the metal combined with a lot of brute force. It honestly took a couple of different attempts to finally get the parts I wanted separated from the pasts I didn't!
Had I been able to buy new parts, I probably would of but I could not find a replacement part and ebay had plenty of second hand units but all of them came with the same wishbone assemble so would not have helped!
Eventually I got it done and was able to drift out the bearing using a handy sized socket (I know that is bad practice), cleaned up the metal and sprayed on some paint.
I have new bearings to go back in but I do not have a press so I think that maybe a job for a local garage.
Brake Callipers
The brake callipers from the donor looked to be in bad shape but I decided I would have a go at cleaning them up and refurbing them rather than just replacing them.
In retrospect, I wish I had just ordered new units as aftermarket callipers are not that much more than the refurb kit (well maybe £150 more) but there was a fair amount of work involved in refurbing them.
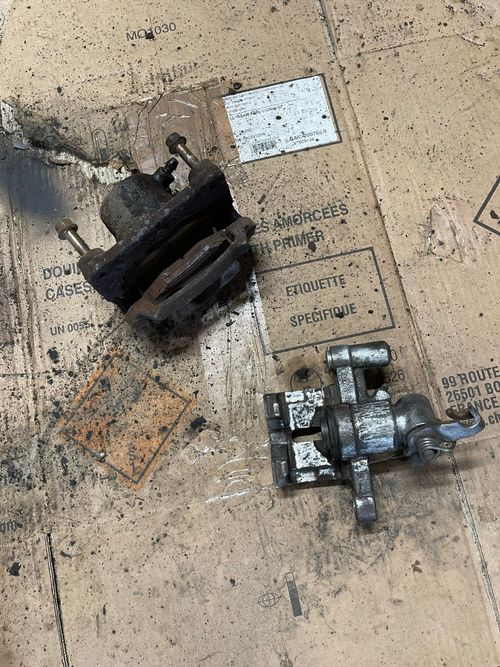
The image above shows the difference between one that had been cleaned up and one that was as it came from the car.
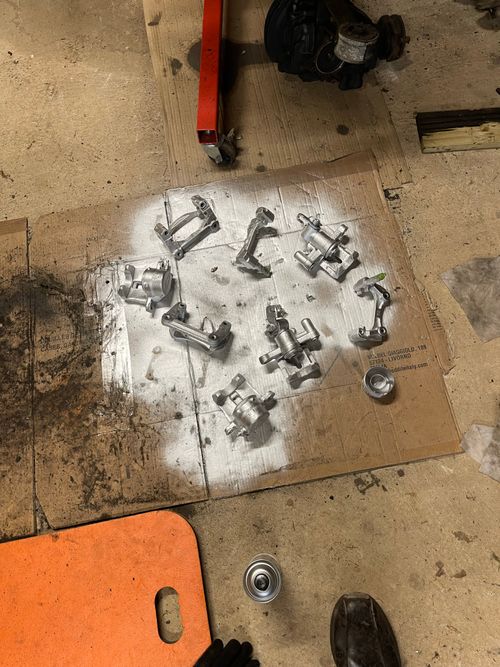
First job was to clean them all up and give them a spray with some special calliper paint (high temperature).
Next I turned to YouTube to learn how to do it. There are lots of videos but I found this one most useful.
Next I ordered a refurb kit from eBay which had most things I needed. Mazda MX5 MK1 MK2 (90-05) Front & Rear Brake Caliper Repair Kits Pistons PK700-2 680031768928 | eBay
I did end up ordering a couple of extra bits that I didn't think would need replacing but the same company was able to provide everything.
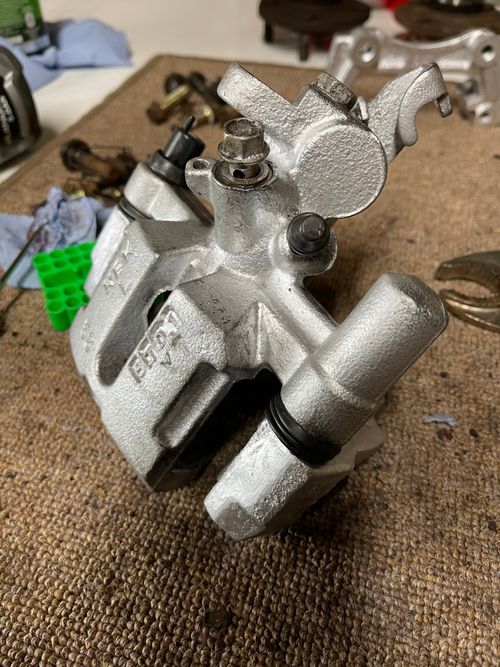
Refurbing the front and rear callipers took a fair amount of time and was pretty fiddly but it was good to get it done in the end.
Master Cylinder & Clutch Cylinder
The Zero also reuses the master brake cylinder and clutch cylinder from the MX5 (but not the servo).
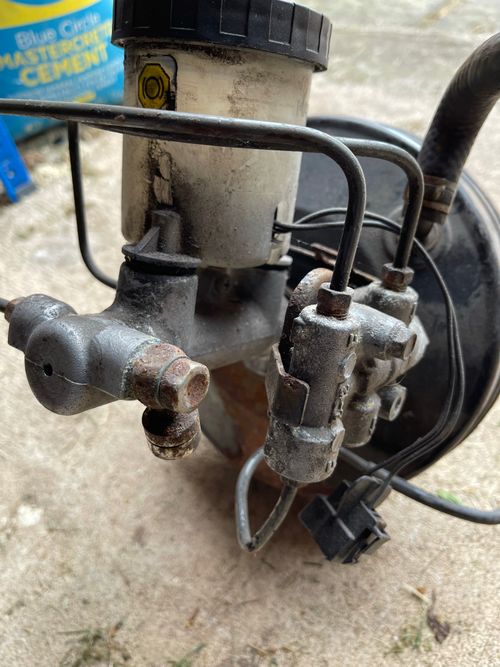
These still need a good clean but I will get to that once it is time to fit them.
Steering Shaft
As yet, I have not touched the steering shaft. The lower section needs modification from GBS so that was detached and sent off for shortening (I assume). The upper section was put back on the pile of bits to be sorted later.
Propshaft & Driveshafts
The propshaft needs shortening in order to fit between the diff and the gearbox. I asked GBS to do this as they know exactly how it needs modifying. So I gave it a quick wide down to remove loose dirt and handed it to GBS for modification.
The same is true for the driveshafts but it is even more critical as the differential does not actually sit central in the Zero chassis so one driveshaft will need to be shorter than then other.
Again, I opted to pay GBS to do this. The service includes a full driveshaft rebuild with the returned items looking like new, so no need to worry about the U joints, boots etc. It is expensive but worth I think it is worth getting them to do this vital modification.
The good thing about getting the donor parts before the kit was that I was able to complete a lot of the preparation work on the donor parts while I was waiting for the kit to be ready for pickup, which took a LOT longer than I originally thought so there was plenty of time to get things done!
